Saturday, June 29, 2013

Steampunk

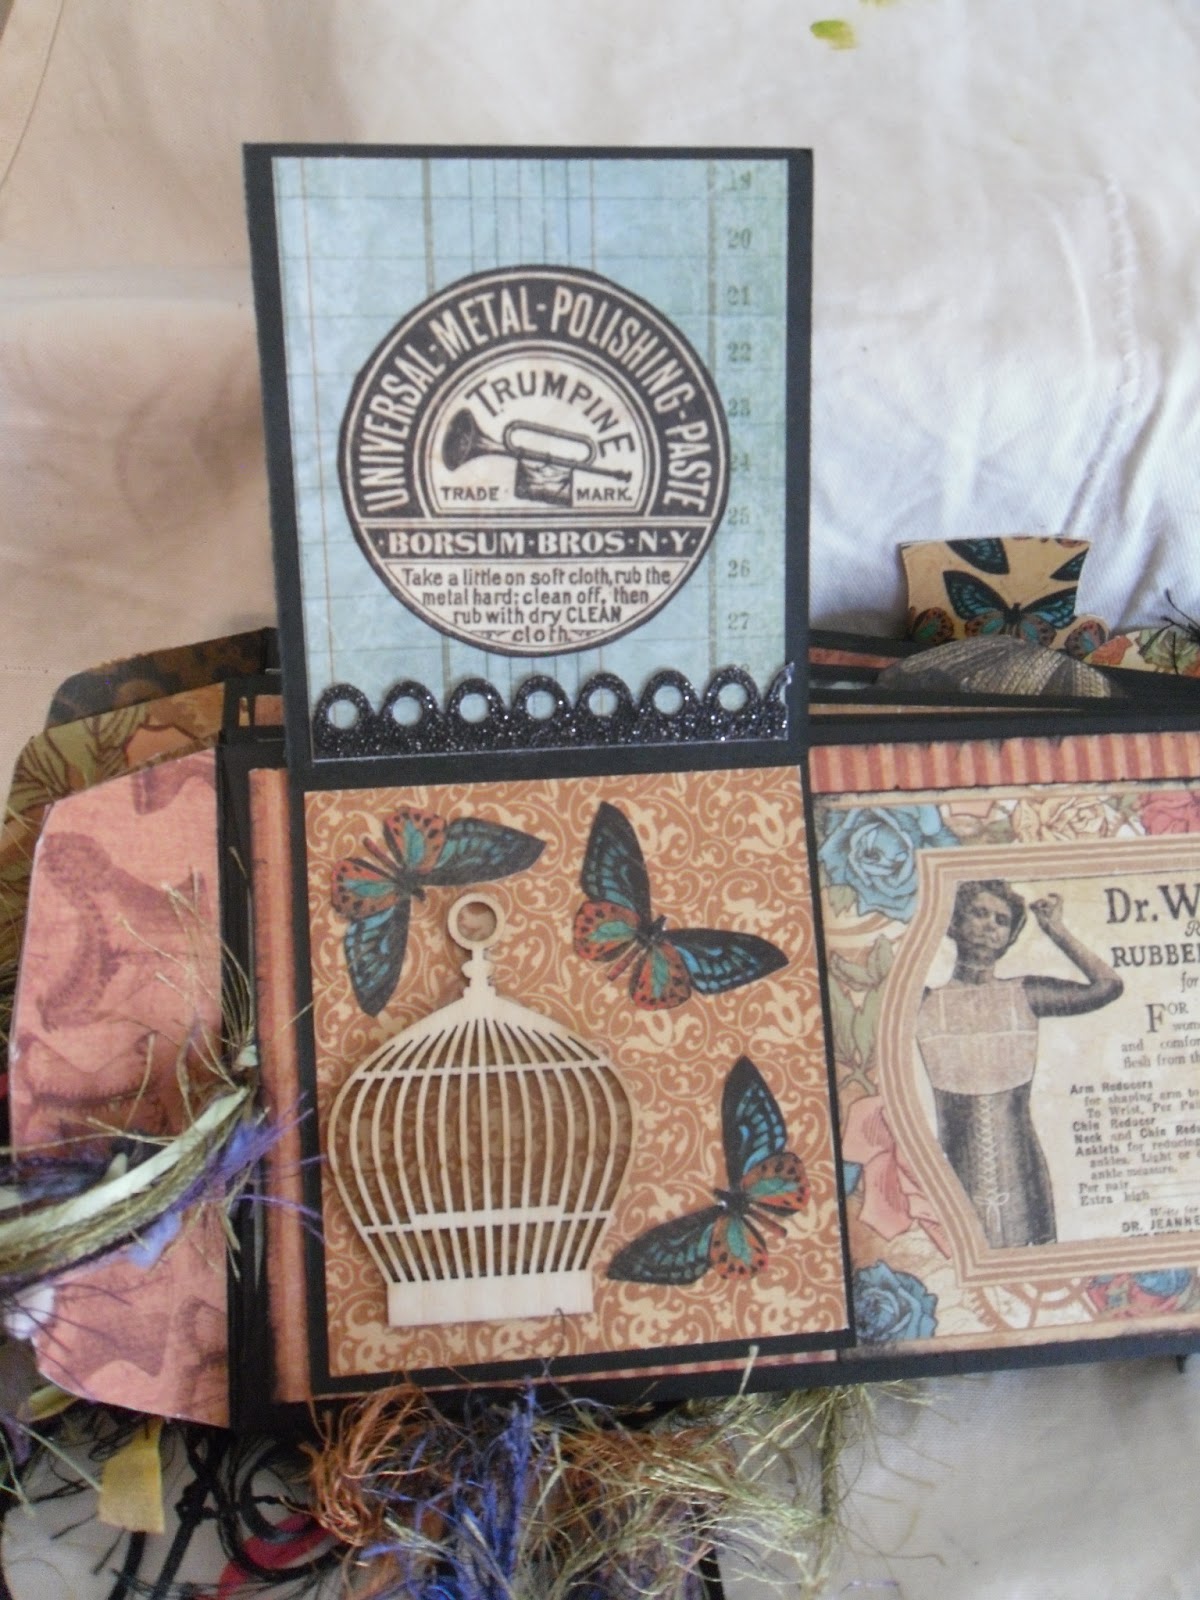
Just finished up a new steampunk mini album. I was lucky enough to locate a Graphic 45 Steampunk Debutante 12 X 12 paper pack and decided to make another policy envelope album. The new Graphic 45 Steampunk paper is great but I really love the "old" line. Lots of pictures. This will be available on my etsy site

Close up of the charms on the front of the album. They include a clock face, Chinese coin, trinket tag. and three bead charms that I made.

Lovely cover with fussy cut images from the line and 3-d embellishments. I put some fuzzy trim on the binding and a few metal findings.

Page One

Tag for page one.

Page Two has a flip up in the middle.


Flip up with a transparency.


Page Three

Tag for page three


Page Four

Page Five

Tag for page five

Page Six

Page Seven

Page Eight

Page Nine

Flip on on page nine

Tag for page nine

Page Ten

Tag for page ten

Sunday, June 2, 2013

Travel Mini

Just finished this super cute mini travel album. I have had the paper for a while (like a year) and just got around to playing catch-up now that school is out! I have it listed on my etsy site  https://www.etsy.com/shop/fabricfriend so if you are interested take a look and let me know. The book consists of four heavy chipboard pages with numerous pockets and minis. Measuring 7" x 5". Lots of space for photos and memories.

Front Cover-Ticker tape at the top with train/rail schedule at the bottom. Airplanes fly in be tween. Three ring binding with ribbon and metal charm embellishment.
Page One-Mini book decorated with trains. and metal spiral clip.

Page One Flip-up has a place for photos/journaling.
Page Two with a pull-out mat in the pocket.

The back is a postcard.
Page Three fold out
Page Four with mat and pull-out mini book
Four page mini-book
Page Five-Two mini books
Page Six-three page fold-out
Back Cover with pocket


Tuesday, May 21, 2013

Altered File Folder

Ladies Dairy Altered File Folder

Just finished my Ladies Diary altered folder.
Cover-Features a Ladies Diary die-cut embellished with gems. The folder was sewn and the edges are covered with fabric strips that are sewn on.

Page one has a belly band and a pocket. Page two has a pull-out photo mat and pocket.

Page three has a pull-out photo book and pocket. Page four has a belly band and pocket.

Back cover


Sunday, May 5, 2013

Altered File Folders

Altered File Folders

I just completed two altered file folder mini's using Graphic 45 mixed with some other papers and embellishments. The first features the Steampunk Debutante Line. Both are made using a standard size manilla file folder. Measures  4 1/2" wide by 8 1/2" tall. The pockets measure 3 1/4" tall. Lots of  embellishments both 2-D and 3-D.
Cover-Graphic 45 paper with Tim Holtz embellishments and Washi tape. Closes with a ribbin and torn fabric tie.

Page 1 has a flip open photo mat embellished with Tim Holtz film strip at the bottom. The pocket is embellished with a tag and Steampunk Debutante paper. Page two also has a pocket with 3-d embellishments.  

Flip up on page one.

Pages 3 and4 both feature pull-outs. Page 3 a decorated photo mat that has a space on the back for a photo. Page 4 features a pull-out book for photos.

Pull-out photo book.

Front and back covers.


Sunday, April 21, 2013

Altered Clothes Pin Tutorial

I wrote and posted this tutorial a while back but I notice that when you try to pull it up all you get is the opening photo. I do not know what happened but here it is again.


Select a page with vintage text. This is from an old English text book.
Add Mod Podge to the clothes pin. I used matte but any type would work. If you don't have Mod Podge use Gel Medium.
Play the pin on the text and press down. You can also flip it over if you want to smooth out the page.  The wrinkle do not bother me, I think it adds to the shabby look.

Press down to adhere.

Line the up across the page. Let them dry and then you can cut  or add four more at the bottom to get eight to a page. It is a little easier to cut and then add four more to the bottom but that is up to you.
Cut them apart leaving a little paper around the pin.

Start out the edge and rip the paper to get the jagged edge. The paper needs to be completely dry for this to work. It is also easier to rip away and down from the edge instead of up.


Take your ink pad and go around the edges and across the top.

If you left the wrinkles in you can just hit the tops with a little ink.