Monday, July 16, 2012

Ladies Diary Album

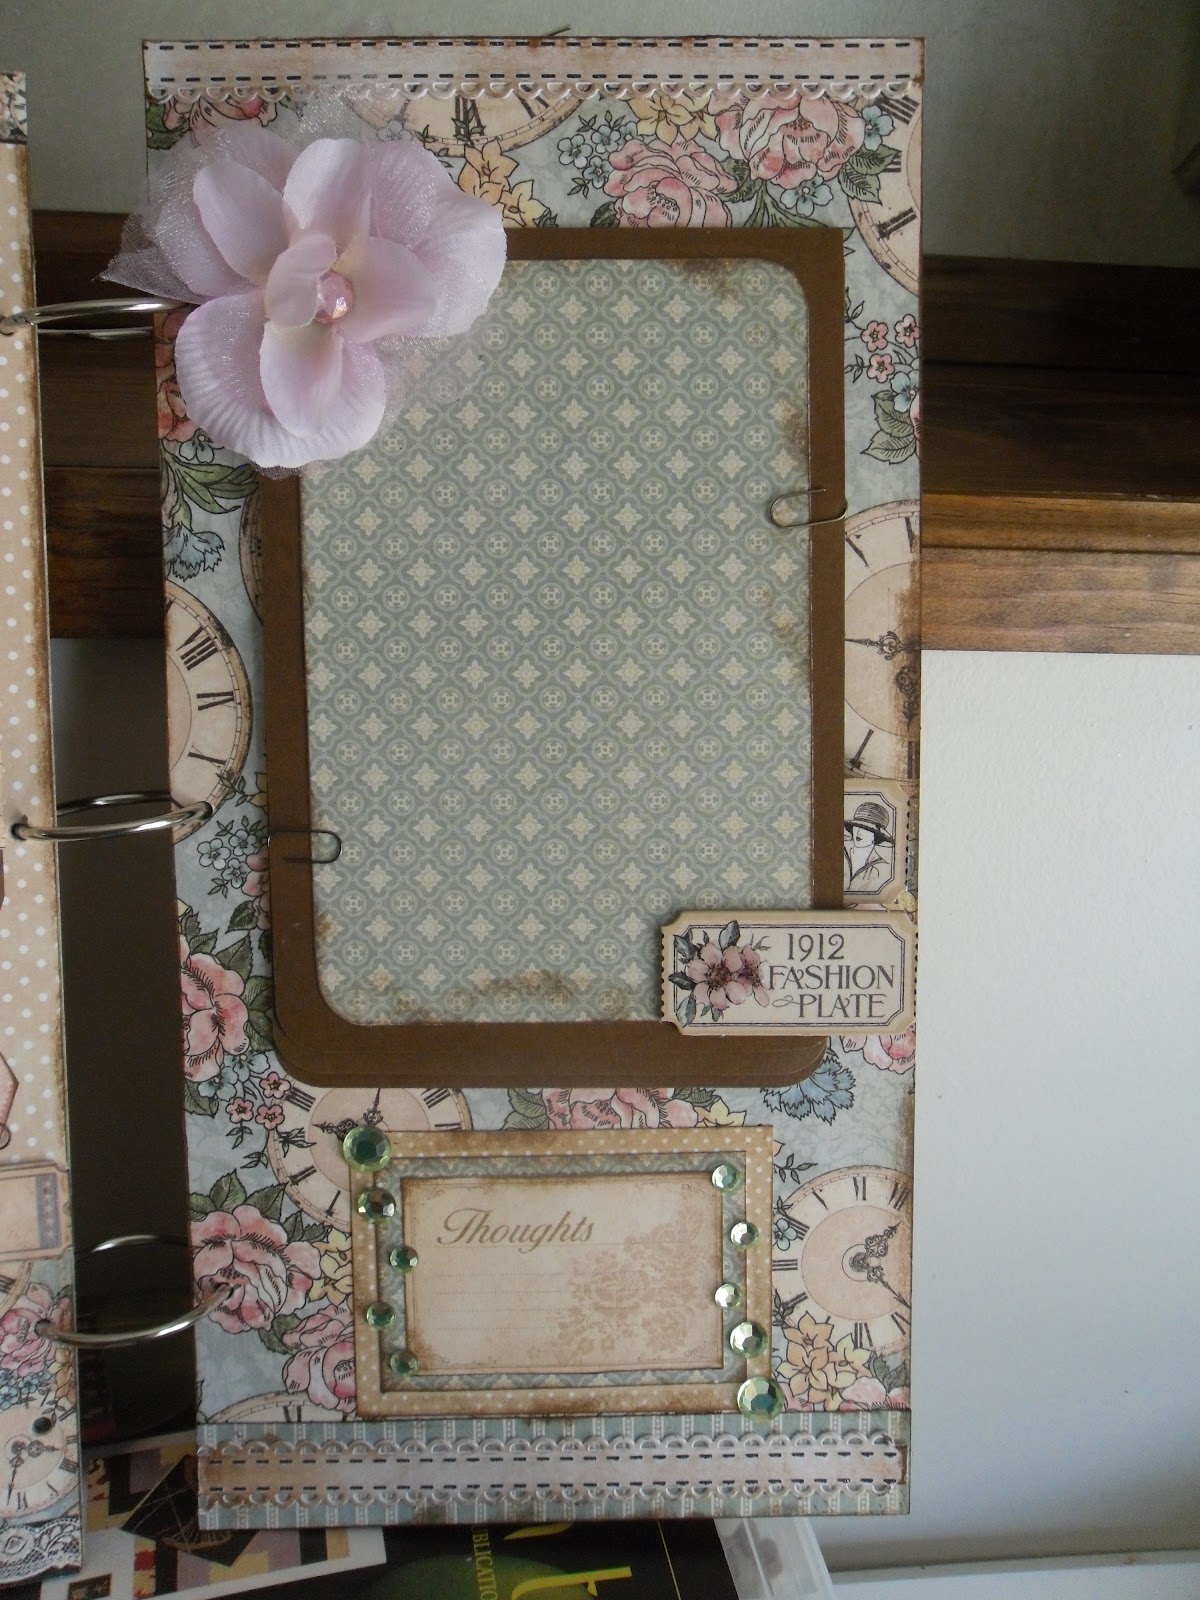
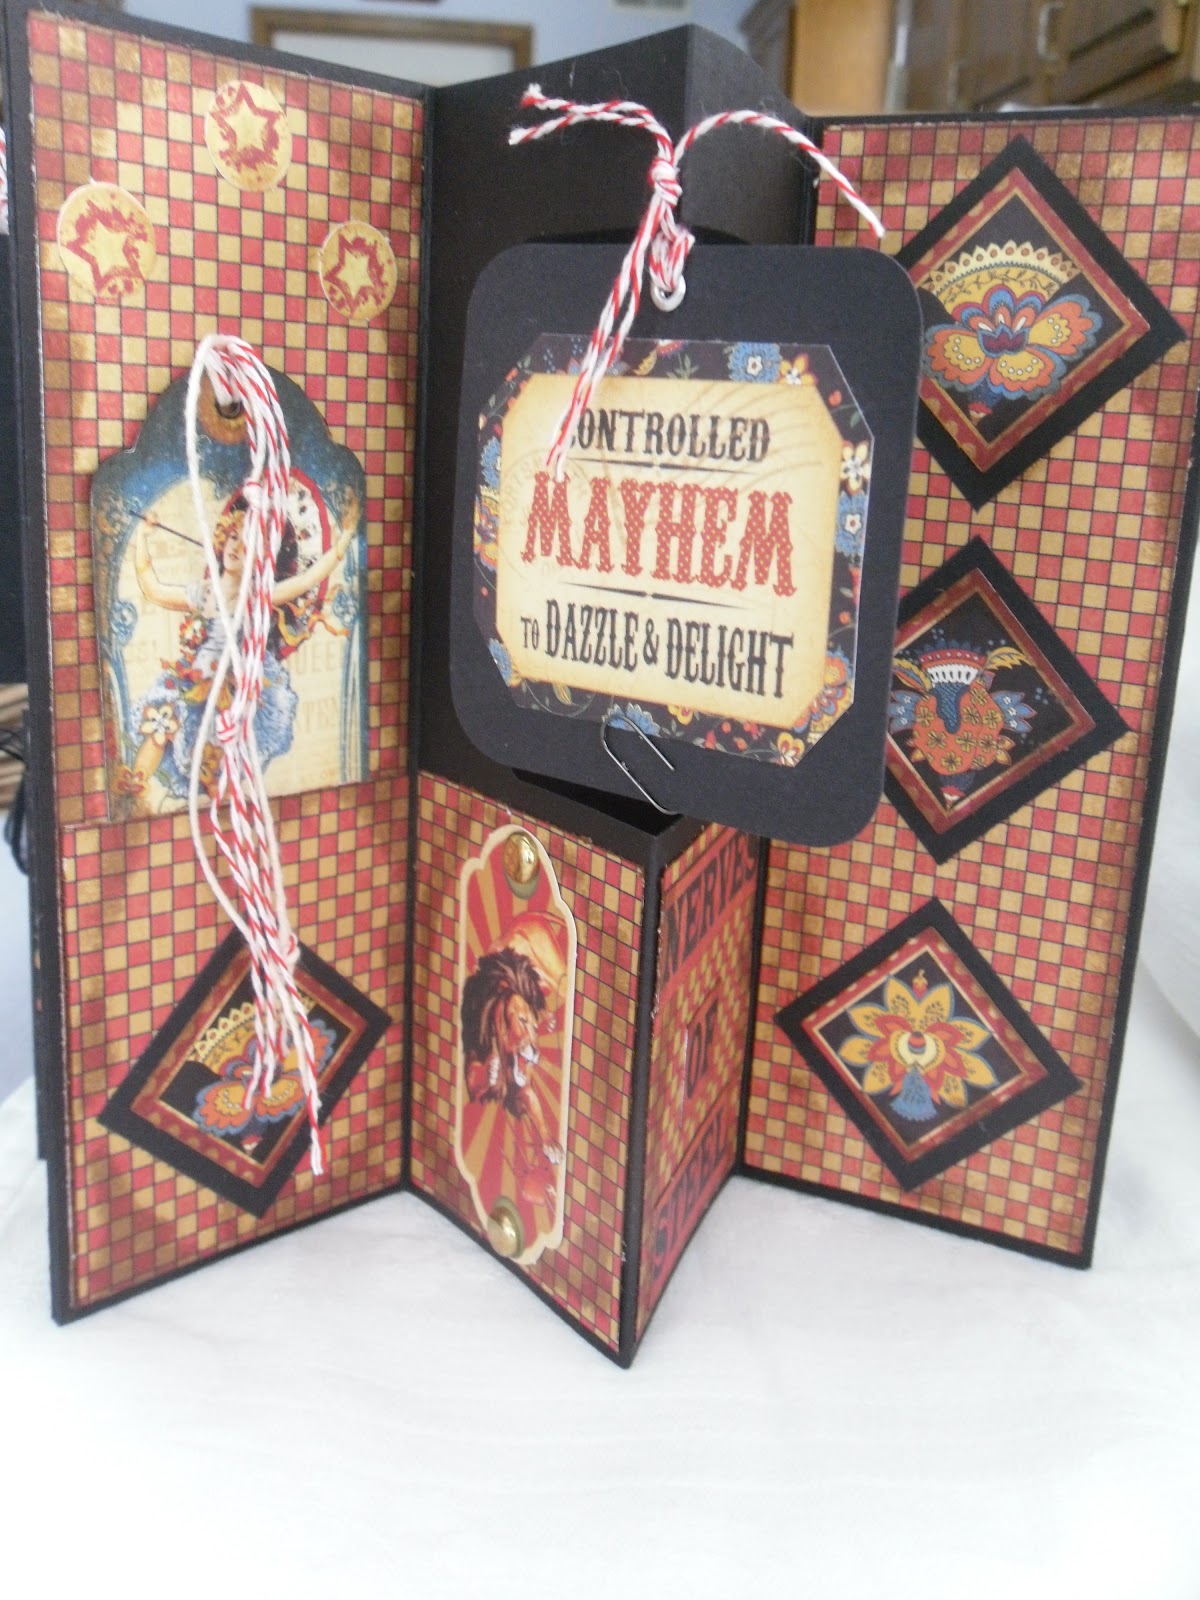
I fell in love with the Ladies Diary paper from Graphic 45 but was not sure what to make so I did a search on youtube.com and came up with several examples and tutorials. I really liked the book that I found on youtube.com/user/flipacano2  for a 6X12 size using the Ladies Dairy and here is my version.
I love the cover but really HATE the binding that I used. I do not have a Cinch machine...yet.


First page with two photo tags.


This page has a belly band and the photo mat is open on the side to hold two tags. Love the wooden dress form.


Another belly band and a pocket that holds two more tags. Love tags.


This open and holds two photo mats with a place to journal at the bottom.


Pretty simple. Two mats with a pocket at the top for another mat.


This top piece open and the bottom is a belly band.


Booklet with pocket at the top and belly band at the bottom.


Here it is open.


Two mats and three tags.


Back cover with a pocket at the top.


This is the charm that attaches to the front. It has a couple of pictures,an old watch,heart,beads and a crystal.


Beautiful!


Ocean of Days-Tag Book

I finished this set of ocean tags last week but just got them all on the ring. The paper is from K and Company and the words from an old song book and English text that I have and often use. I used acrylic paint,sequin waste and little glass marbles. I really like how they turned out and they will be for sale in my etsy store fabricfriend.etsy.com .Hope you are enjoying your summer!
"gifts from the sea"


"beautiful are the waters"


"fresh water seas"


"standing on the edge separated by the ocean"


"splendid is the water"


"bless the seas"


"see how the waves do part"


"ocean of days"

Thursday, July 12, 2012

Follow the yellow brick road....

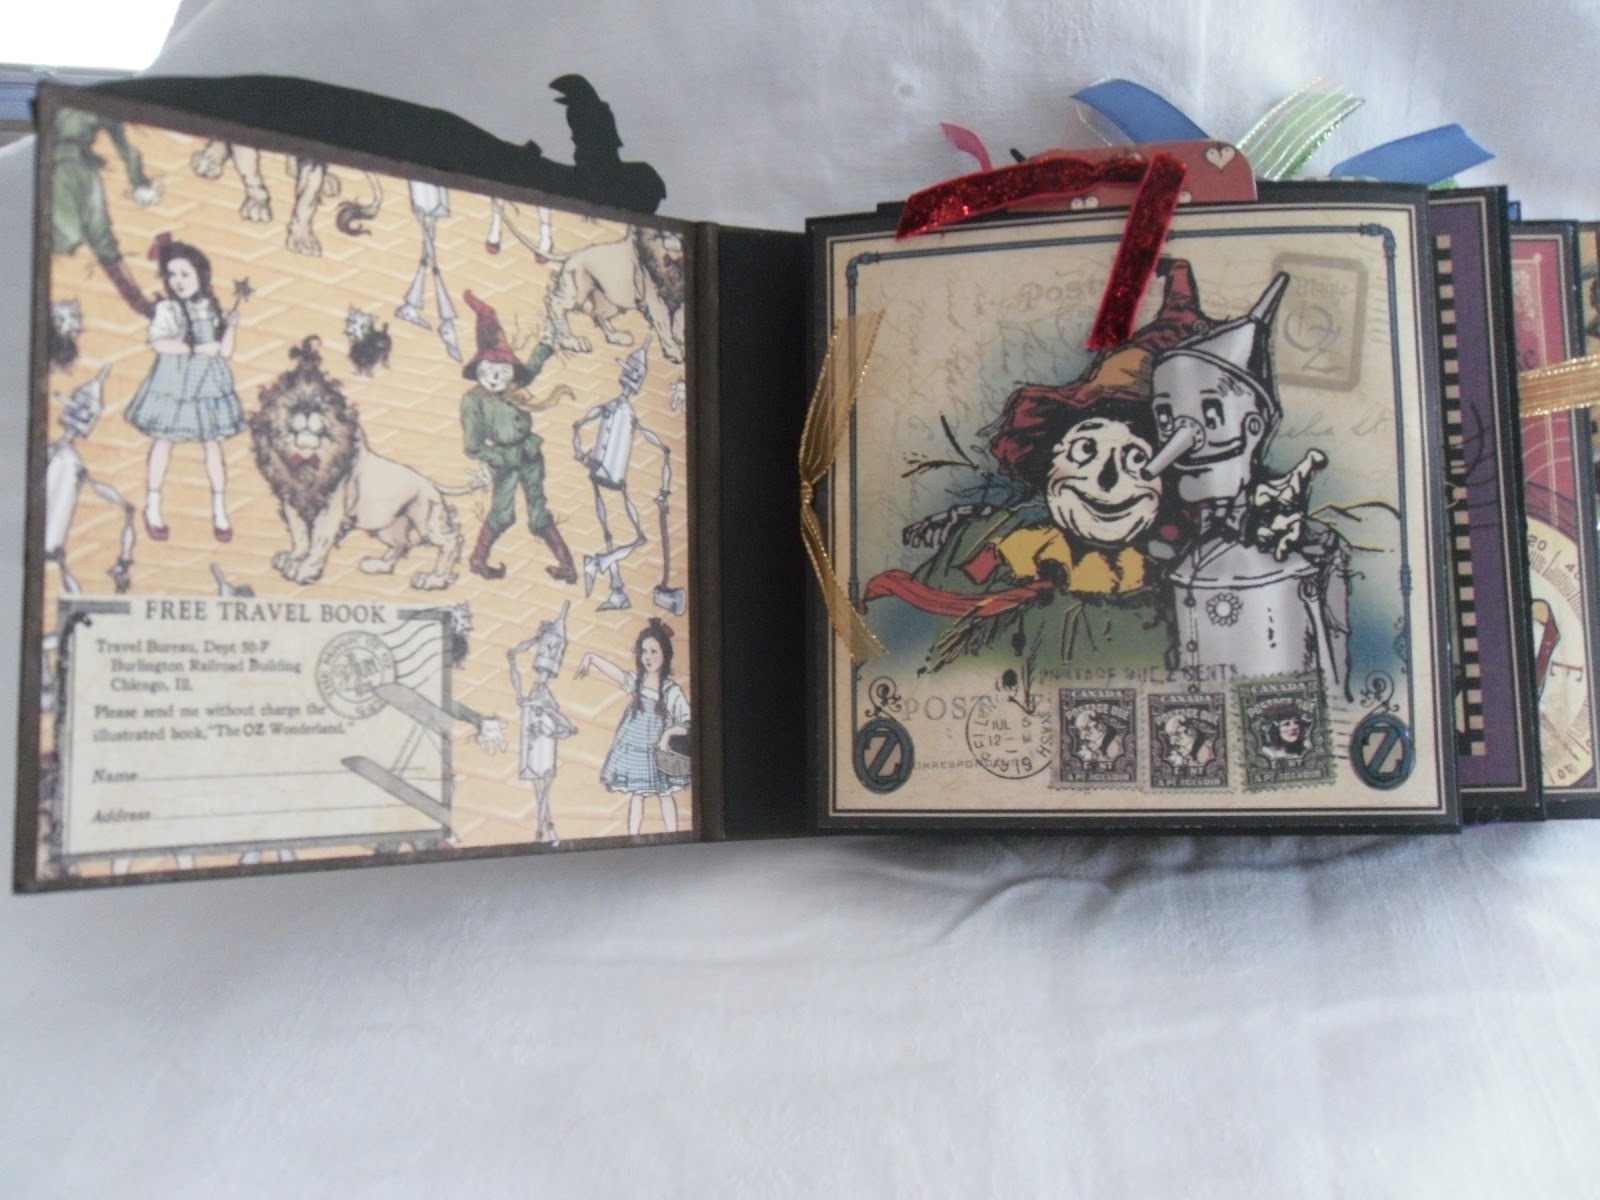
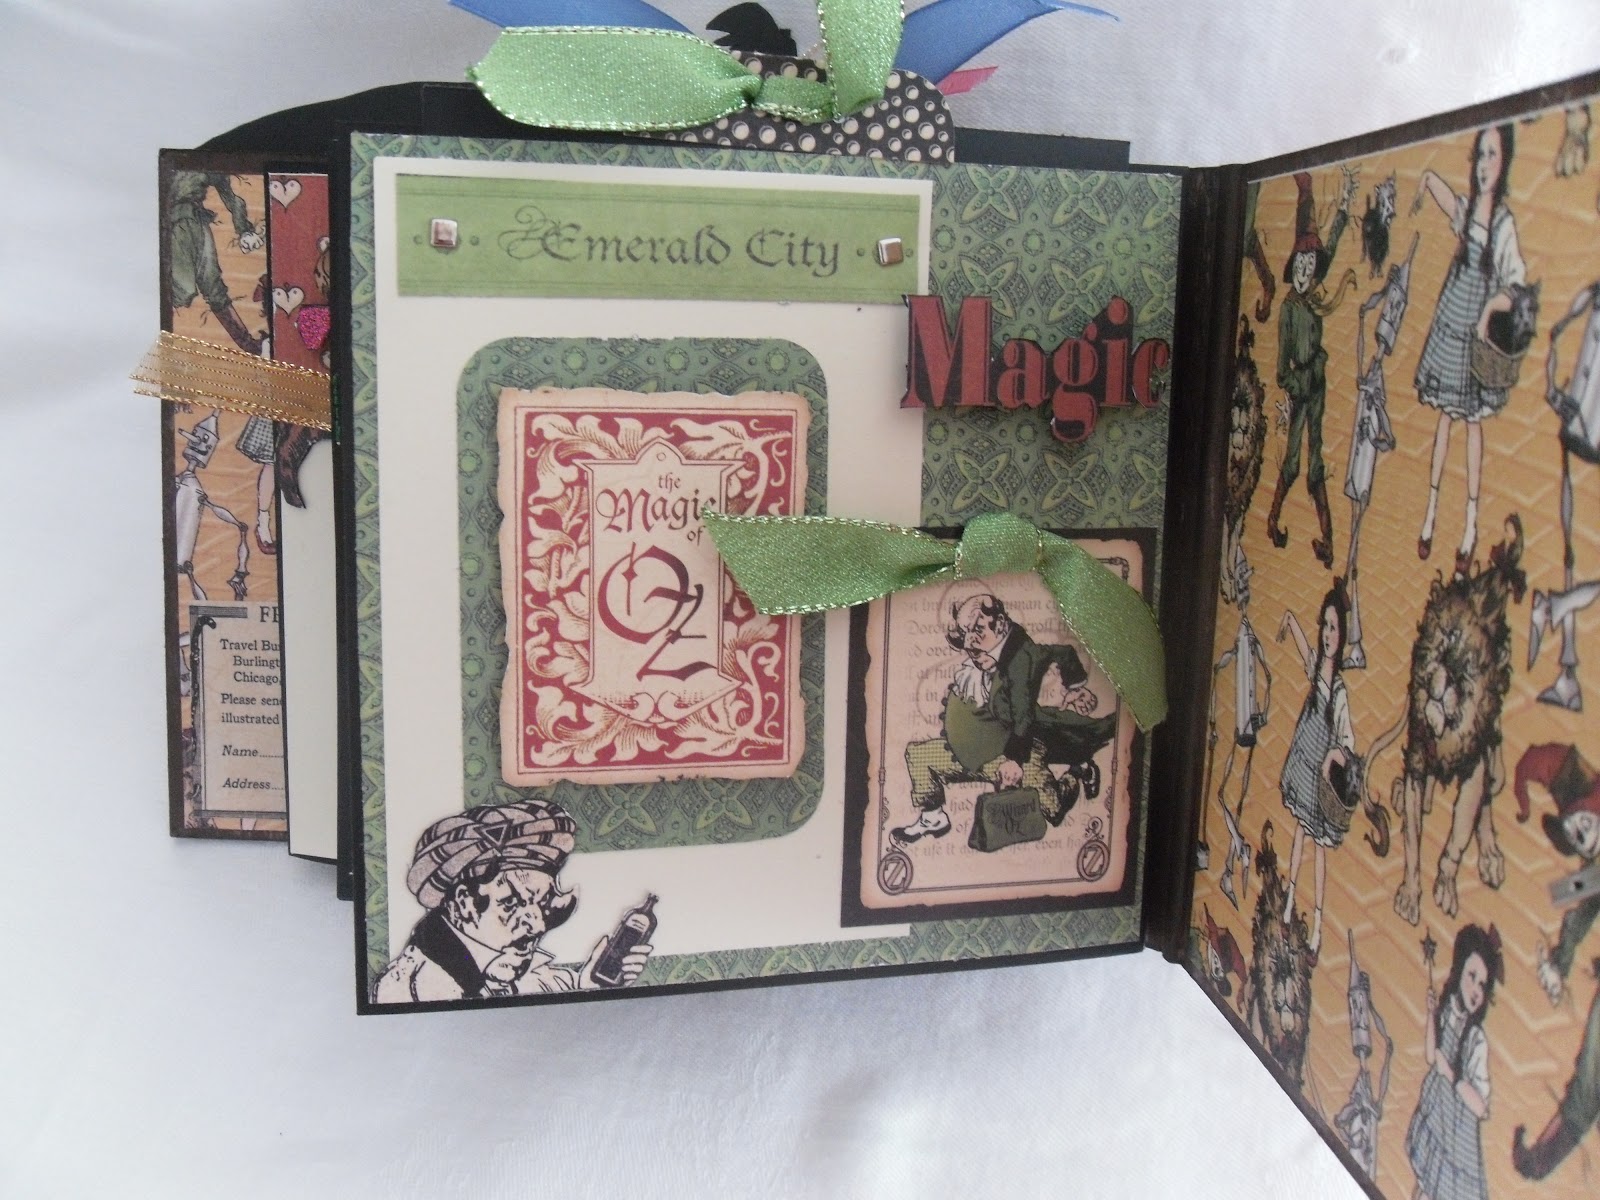
Took a little break from my fabric stash and have been working on altered/mixed media books. I was at Achiver's for some cardstock and discovered the Graphic 45 line of paper. I know Graphic 45 has been around for a few years but I was not up to date on new lines in the scrapbook world. I am not a huge Wizard of Oz fan but I really liked the construction of this book and like how it turned out. I filled it with odd facts about the movie.


There is a pocket at the top that holds a black photo mat. I wrote in a spiral,facts about the movie using white ink.
Scarecrow and Tin Man pages.


Wicked Witch-love the pull out


Glenda

The Wizard


Monday, June 18, 2012

Blue Bird Slippers

I have spent the past month cleaning,cleaning,cleaning! Re-organizing and donating things that I have not used or worn in a long time. There is  something about cleaning and getting rid of stuff that makes you feel good. I have managed to squeeze in some creative time and here is a look at a pair of slippers that I finished.
 I am listing several sewing/quilting/craft books over at my etsy site fabricfriend.etsy.com. So, if you are in need of some summer reading head over and take a look.


Thursday, June 7, 2012

Tutorial Pattern

If you are looking for the pattern for the fabric basket tutorial it is not included at the end of the tutorial. I thought I had it figured out but guess not! Thanks for you patience.

Fabric Basket Tutorial

Fabric Basket Tutorial


Fabric baskets are a great way to store items around the house and are easy to make. This tutorial is for a square basket but you can easily adjust the size by enlarging it on a copier. So, gather up some general sewing supplies,cute fabric and let’s get started!

Supplies
*linen or muslin for the outside of the basket-a fat quarter should work
*cotton for the lining-a fat quarter should work
*interfacing
*quilt batting
*ric-rack
*general sewing supplies

Using the pattern located on the last page of this tutorial you need to cut out the following;
1- linen/muslin
1- lining
1- iron on interfacing
1- batting
2- 2 ½ X 5 1/2 from the lining fabric for the handles
2- 2 ½ X 5 1/2 from the interfacing for the handles

Read through the directions completely before you begin.All seaw allowances are 1/4".
Sewing abbreviations: RST-right sides together
                                    WRS-wrong sides together

* Please note the basket pictured in the tutorial is a rectangle. The process is the same for both a square- shaped or rectangle- shaped basket. To get the rectangle-shape, take the pattern and locate the "place on fold edge". If you cut it out as is,the basket will be square. Move the "place on folded edge" over between 1-2 inches,and you get a rectangle.

Handles

Fuse the interfacing to the handle sections following the manufactures instructions. Fold the handle section WST length ways and press to form a crease. Open and, using this crease as a guide, fold each side to the middle to match the crease line. Fold along the crease to create the handle. Sew close to the edge and repeat for the second handle and set both to the side.


Lining and Outside

Apply interfacing to the wrong side of the lining piece. Layer the lining,interfaced side up and the batting.


 Pin,RST,to form a square and stitch on all four sides. Set lining aside and repeat with the linen/muslin to make the outside. You will not apply interfacing or batting to this piece.


 Sew ric-rack to the outside of the basket. I used the large size ric-rack.

 Pin the handles to opposite sides of the basket about 1/2" in from the side seam with the loop of the handle toward the bottom of the basket. You can baste them if you need to or just leave them pinned.


Flip the linen/muslin wrong side out.  Pin the lining and the outside RST and stitch,leaving a 2" opening on one side so you can turn. Leave the opening on a side that does not have handles.


Turn right side out through the open. Fold the edges to the inside the slip-stitch closed .Edge stitch around the top if desired.


I added a running stitch with embroidery floss about 2" down from the top. You could do this before you stitched the lining and outside together it would be easier to attach but I decided after they were already together.


 I also added a yo-yo made from the lining fabric and a button.  Again, easier to attache before you sew the lining and outside together.


I hope you enjoyed making your basket and I would love to see pictures of your creations. 

This pattern is for home use only. If you post pictures of your completed project please include a link back to my blog fabricfriendtara.blogspot.com. Please do not distribute electronic copies of patterns via e-mail.  Do not resell my patterns (including as part of a kit).  Do not use my patterns to mass-produce items for sale on Etsy, at craft fairs, or in any other commercial venue.  
Thank you Barton for the proof read. 


Sunday, May 6, 2012

Scissor Addiction


I saw these scissors on pinterest and had to have a couple of pair. I don't know what it is about scissors but the more the better. Since these were coming from China I added a few rolls of Japanese paper and fabric tape and some Matryoshka dolls fabric that I have been wanting for a while now. These were happily added to my collection of the following.
*paper scissors-two sizes
*Gingher fabric scissors-5 1/2" and 7"
*Fiskers fabric scissors-7"
*Various other fabric scissors-4 pair
*Pinking Shears
*Thread nips-3 pair
*Duck bill
*Embroidery scissors-2 pair
I have found I prefer the Gingher brand. They seems to stay sharp longer and have a truer cut. Keeping them sharp is the biggest challenge. The small locally owned hardware store does sharpen but it takes a week. The Hancock has a man who comes in on Saturday mornings and will sharpen while you wait, I just need to remember to get over to the store Saturday mornings.
I tried a pair of Dove brand scissors at the quilt store and they were really nice but I had sticker shock. The pair I tried was listed at $98.00!!  Maybe when I hit the lottery.